Resell Scan
Guide for AI/inventory users

AI inventory workflows: create custom endpoints

Define custom input fields, let Resell Scan calculate a concrete output value from them, and use that value in your inventory system, for example in JTL workflows.

Duration: approx. 12 minDifficulty: AI/inventory usersLast updated: May 15, 2025

One endpoint returns one plain text value

An inventory workflow is a custom AI endpoint. You send JSON with your input fields, authenticate with x-api-key, and receive text/plain with the calculated value.

1

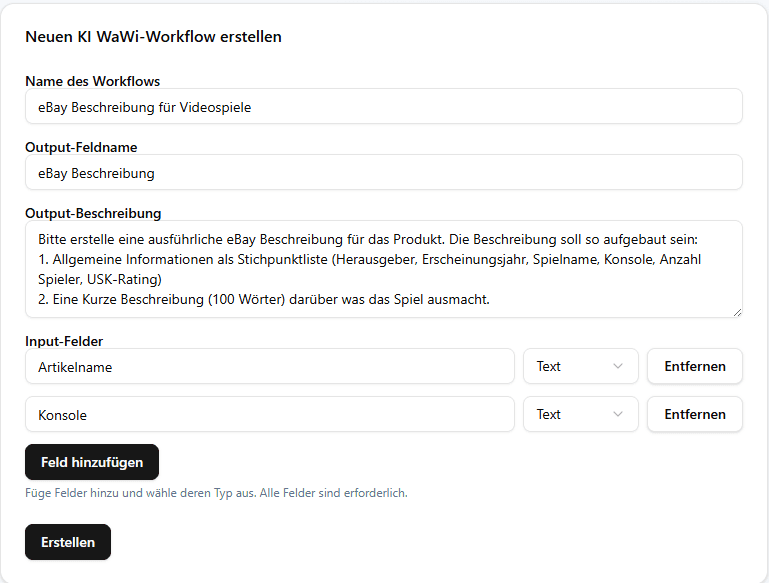
Create an AI inventory workflow

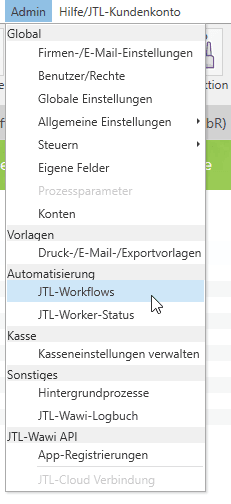
Open “Developer” -> “AI inventory workflows” and create a new workflow with name, output field, and input fields.

Resell Scan form for creating an AI inventory workflow
You define output field name, output description, and input fields. Input types are text or number.
Name helps you find the endpoint later.
Output field name describes the returned value.
Output description gives AI context for the target value.
Input fields are required and must have unique names.
2

Secure API key and endpoint URL

After creation, Resell Scan shows the API key once and redirects you to the endpoint detail page.

Header

The inventory endpoint uses x-api-key. This is separate from the bearer token used by the general API.

Cost

In the interface, the workflow is shown as 1 token per execution. If tokens are insufficient, the endpoint responds with 402.

Basic request shapebash
curl -X POST "<API_SERVICE_URL>/wawi/{endpointId}" \
  -H "x-api-key: rsw_..." \
  -H "Content-Type: application/json" \
  -d '{"ItemName":"Pokemon Diamond","Console":"Nintendo DS"}'

Use the URL from the detail page

The actual base URL comes from the Resell Scan configuration. Copy the endpoint URL from the detail page instead of guessing it manually.
3

Set up the JTL workflow

Create a JTL workflow that sends a web request to your Resell Scan endpoint.

JTL inventory workflow area
In JTL you define the trigger, for example a manual workflow or a workflow when creating an item.
Method: POST.
URL: endpoint URL from Resell Scan.
Header: x-api-key with the key you saved once.
Body: JSON based on the body template from the detail page.
4

Fill the body template with inventory variables

Copy the body template and replace placeholders with suitable JTL variables.
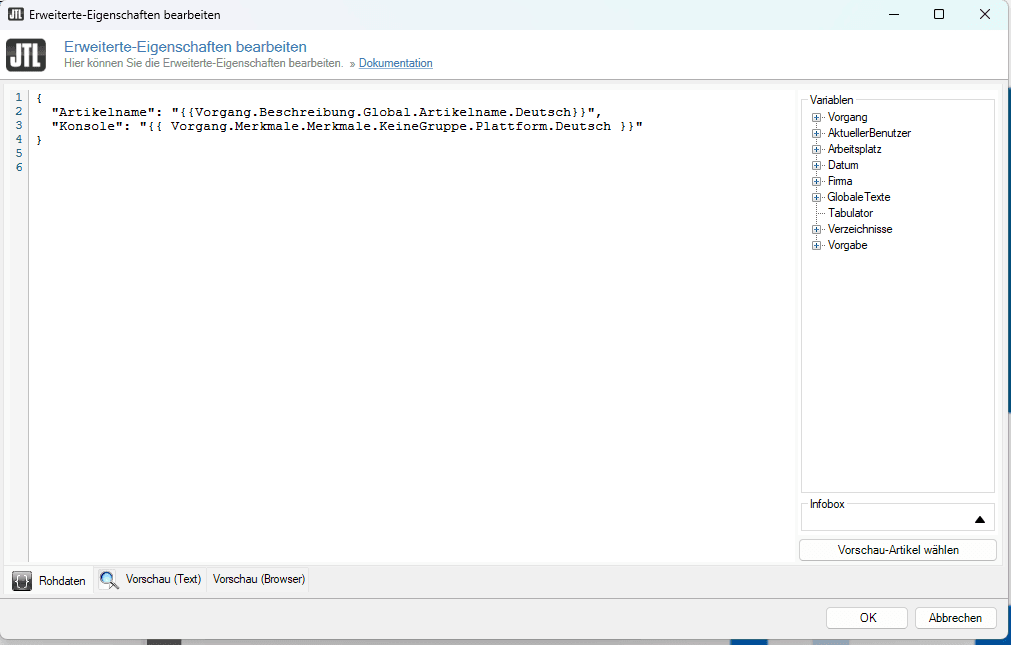
JTL body field with JSON and variables
JTL variables are inserted as values in the JSON. Keep strings wrapped in quotes.
Start JTL workflow manually
After setup, you can start the workflow from JTL and move the response into your target field.
Example body with JTL variablesjson
{
  "ItemName": "{{Workflow.Item.Name}}",
  "Platform": "{{Workflow.Attributes.Platform}}"
}

Fill number fields cleanly

If an input field is configured as a number, the value must be interpretable as a number. Text fields do not need to be numeric, but they must not be empty.
5

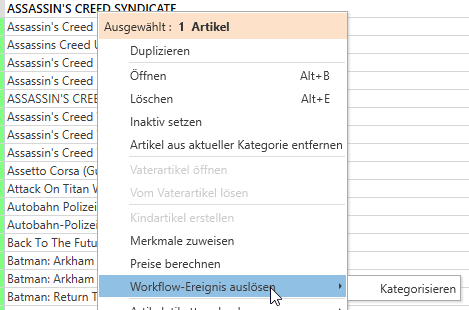
Test and review logs

Send a test request or start the JTL workflow. In the endpoint details, you see recent requests with input, output, and status.

Expected responsetext
Pokemon Diamond Edition
Successful responses return as a plain text value.
Invalid or missing x-api-key returns 401.
Missing or incorrectly typed body fields return 400.
Insufficient tokens return 402 Payment Required.
The detail page shows recent requests, response text, and status code.

Do not expect a JSON response

The inventory endpoint is designed to return a direct field value. In JTL, plan for text/plain rather than a nested JSON object.

At the end of this guide you can:

create an AI inventory workflowdefine input and output fieldssecurely copy API key and endpoint URLconfigure JTL web requestsfill body templates with inventory variablesevaluate logs and status codes
Open inventory workflows